The First EnviroDIY Unit
My background is in mechanical engineering technology, so computer program downloading and circuit board wiring were not even close to being my forte. So, the first thing I did was enlist the help of the most tech-savvy people I know, Mike Hewitt and Steve Cornia, from Eastern Pennsylvania Coalition for Abandoned Mine Reclamation (EPCAMR). Thankfully, Steve had some experience working with Arduino boards and sketches in the past. In addition, these two guys do a lot of electronic monitoring of abandoned mine drainage in northeast Pennsylvania, and they were willing to help out on the first unit.
I also requested a partnership with our local Trout Unlimited Chapter, Lackawanna Valley TU. They helped decide where to locate the first unit and would provide any extra funding if needed. The chapter president agreed, and we proceeded.

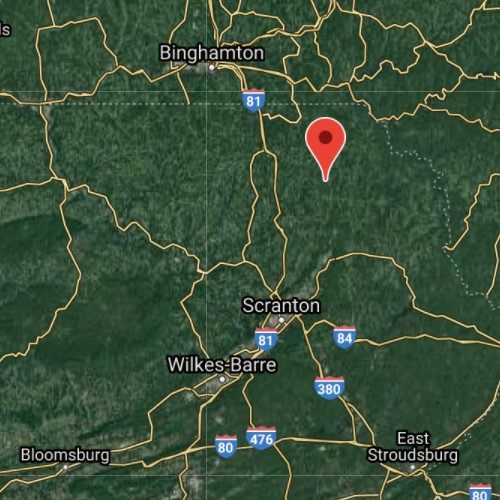
We decided to install the unit in the west branch of the Lackawanna River, located in the Lackawanna River’s headwaters. My eventual plan is to deploy several more stations along the main branch of the river, running from the northeast corner to the southwest corner of Lackawanna County.
We considered this a pilot unit and used a manual download configuration. If the first one didn’t go well, the entire plan would be in doubt.
To kick off the process, Mike sent me a list of parts in a spreadsheet. I then created a shared Google Doc containing the list of parts and associated estimated costs. Each was broken down by assembly category (e.g., Staff Gage, Sensor Parts, etc.). I would order the parts and check them off in the spreadsheet. I’d ship the parts directly to EPCAMR and they would check them off as received when the parts arrived.
We did this for all of the parts during the early stages of the pandemic. It took several months for them to complete the unit, and it was finally installed in September of 2020. We started downloading data from SIM cards shortly after.

The first unit used a manual download configuration. 
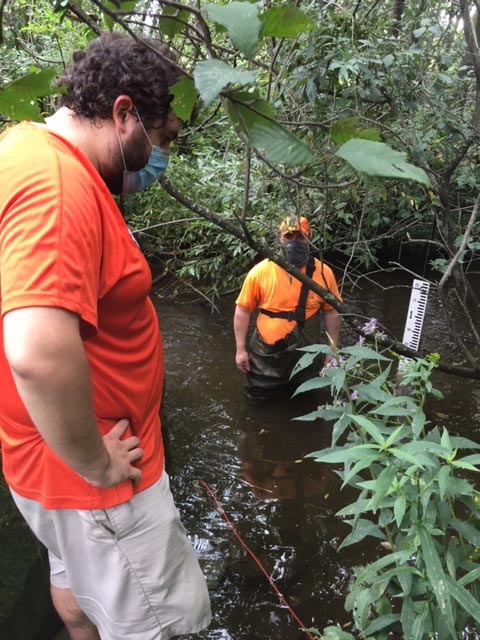
Installing the staff gauge for the monitoring station.
The Second Unit Gets Better
We wanted the second unit to use a cell signal to transfer data directly to the Monitor My Watershed website. I would be on my own with this one, knowing EPCAMR would be there if needed.
After finding the recorded workshops on YouTube (Building an EnviroDIY Monitoring Station: Virtual Workshop, Day 1 & Day 2), I felt confident that I could follow along, step-by-step and use the EnviroDIY Getting Started with the Mayfly Data Logger web page, associated videos, and EnviroDIY.org forum, if I got stuck … and I did get stuck.
Several times during the process, I made use of the forum, and the people at Stroud Water Research Center were quick to respond. They were extremely knowledgeable and helpful, luckily for me.
It took me a while before I learned some hard lessons. The first issue I ran into was not understanding that once you downloaded a sketch, that didn’t mean you didn’t have to download it again. It turns out each time you want to run a sketch from the Serial Monitor, you first had to download the specific sketch you wanted to run. I was convinced at one point that I had fried a $60 board. It was only after I ordered a new one that I realized I had not.

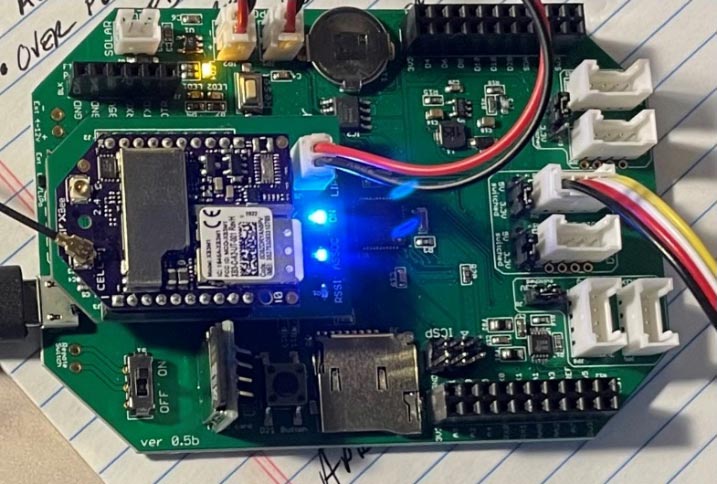
Cell signal being sent 
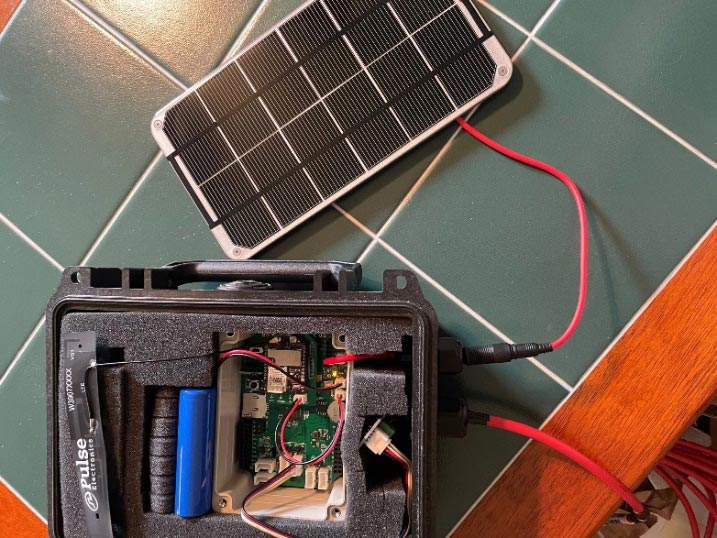
Completely assembled cell signal unit
After weeks of working on the unit, having watched all but 50 minutes of the 6+ hours of the two workshop videos, and after working through several glitches (most of which were a lack of understanding on my part) and working through my learning curve, another setback occurred.
Suddenly I couldn’t get any of the sketches to run. I was back to square one. I found out later that my problem was due to a worn USB port and a loose connection on an old laptop I was using while working from home during the pandemic.
This time, I worried that I might have fried the entire assembly. Nothing would work, and I mean nothing. So, I started from scratch … literally.
I deleted the Arduino software and the libraries and downloaded them again. Since I had become so familiar with the process, I had the unit completely assembled (see photo above on the right … not so pretty, I know, but I’ll get back to that) and sending a cell signal (see photo above on the left) in a matter of two days.
Success!!! I was so excited (and relieved) when I saw the data registering on the Monitor My Watershed website!
As for the explanation of the not-very-aesthetically-pleasing interior of the box, it goes something like this. I had neatly removed all of the foam, creating the necessary voids for the parts. But when I went to install the assembly in the foam inside the box, I found out that the solar panel cable I had ordered that attaches to the circuit board was approximately 3” long – not long enough to extend to the outside of the Pelican case.
I then had to reconfigure the foam in the box so the cable would reach through to the exterior of the box. I ended up having to order another foot-long cable to ensure the solar panel would reach above the Pelican case on the mounting pole to keep the box from blocking the sun from the panel.
All in all, it was a positive experience. Sure, there were some growing pains, but without them, there is no growth. A big THANKS to all involved!
Cheryl Nolan is a watershed specialist with Lackawanna County Conservation District in Scott Township, Pennsylvania. She welcomes your questions and comments through the form below.

 Welcome to EnviroDIY, a community for do-it-yourself environmental science and monitoring. EnviroDIY is part of
Hello Cheryl … good to know your experience… I am building the same and I am stuck too wondering if I can ping you for some help…any guidance will be greatly appreciated
Hello AyalaV,
I’d be happy to help in any way that I can. I just saw your comment on the message board and I will make one recommendation, if you haven’t already done it watch the YouTube videos of the two workshops. They are extremely helpful.
https://youtu.be/u_PESTdMqD4
https://youtu.be/iN44TuevuyQ
Thank you… going over these now… hopefully I can get past the obstacles
I followed the videos up until the very end. The only difference between what they are doing and what I am doing is that they are using the CTD sensors, which I do not have. Instead, I am only trying to log data from the sensors already embedded in the Mayfly (temperature, battery voltage, signal percent)
Attached is an image of the output in the Serial Monitor when I upload the DRWI_LTE program to the Mayfly. I am stuck at this part.
Assuming you have set up the Hologram card, created an account with Hologram, activated it and set up an account on Monitor My Watershed (being sure to transfer the necessary code from your Mayfly to the appropriate parameter on your MMW site) then the data should be showing up on the MMW website unless you don’t have cell service where you are. The other option is to remove the sim card and see if the data is being recorded to the card by attempting to download it to a computer.
Thank you, I will try this.
Cheryl….I am still stuck…My sim card is active as it is showing that it is active on Hologram…then my SD card is recording data every 5 minutes…only 1 data point is sent yesterday around 6:10 pm…no other data is being sent anymore…any ideas on how to fix it or who to contact for help
It sounds to me like you don’t have a good cell signal but you might want to post this issue on the forum so that you can get some of the experts to answer you. They helped me tremendously.
Hi Vinay and Cheryl. It is great to see your teamwork sharing and troubleshooting! Just a tip: you can more easily share Arduino sketches on this website by posting questions and answering them in the Mayfly Data Logger Forum. Use the <> icon in the entry form to paste a sketch from your Arduino IDE into your Forum post. Follow these instructions for posting to the Forum:
When seeking help on the forum, please:
1. Start with a descriptive title.
2. Describe your problem and your particular system setup with as much detail as possible.
3. For code troubleshooting, insert code snippets by clicking on the “<>” icon. (If you don’t see the icon, click the keyboard icon to expand the toolbar.)
4. Use “@username” mentions to ask other members for their input.
5. Add topic tags, using commas to separate. Check the sidebar for most-used tags.
6. Attach helpful images or files, up to four files per post. See forum instructions for acceptable file types and more.
Will do.